Clay Play: 5 Simple Sculpting Projects for Little Hands (Air Dry Clay Fun!)
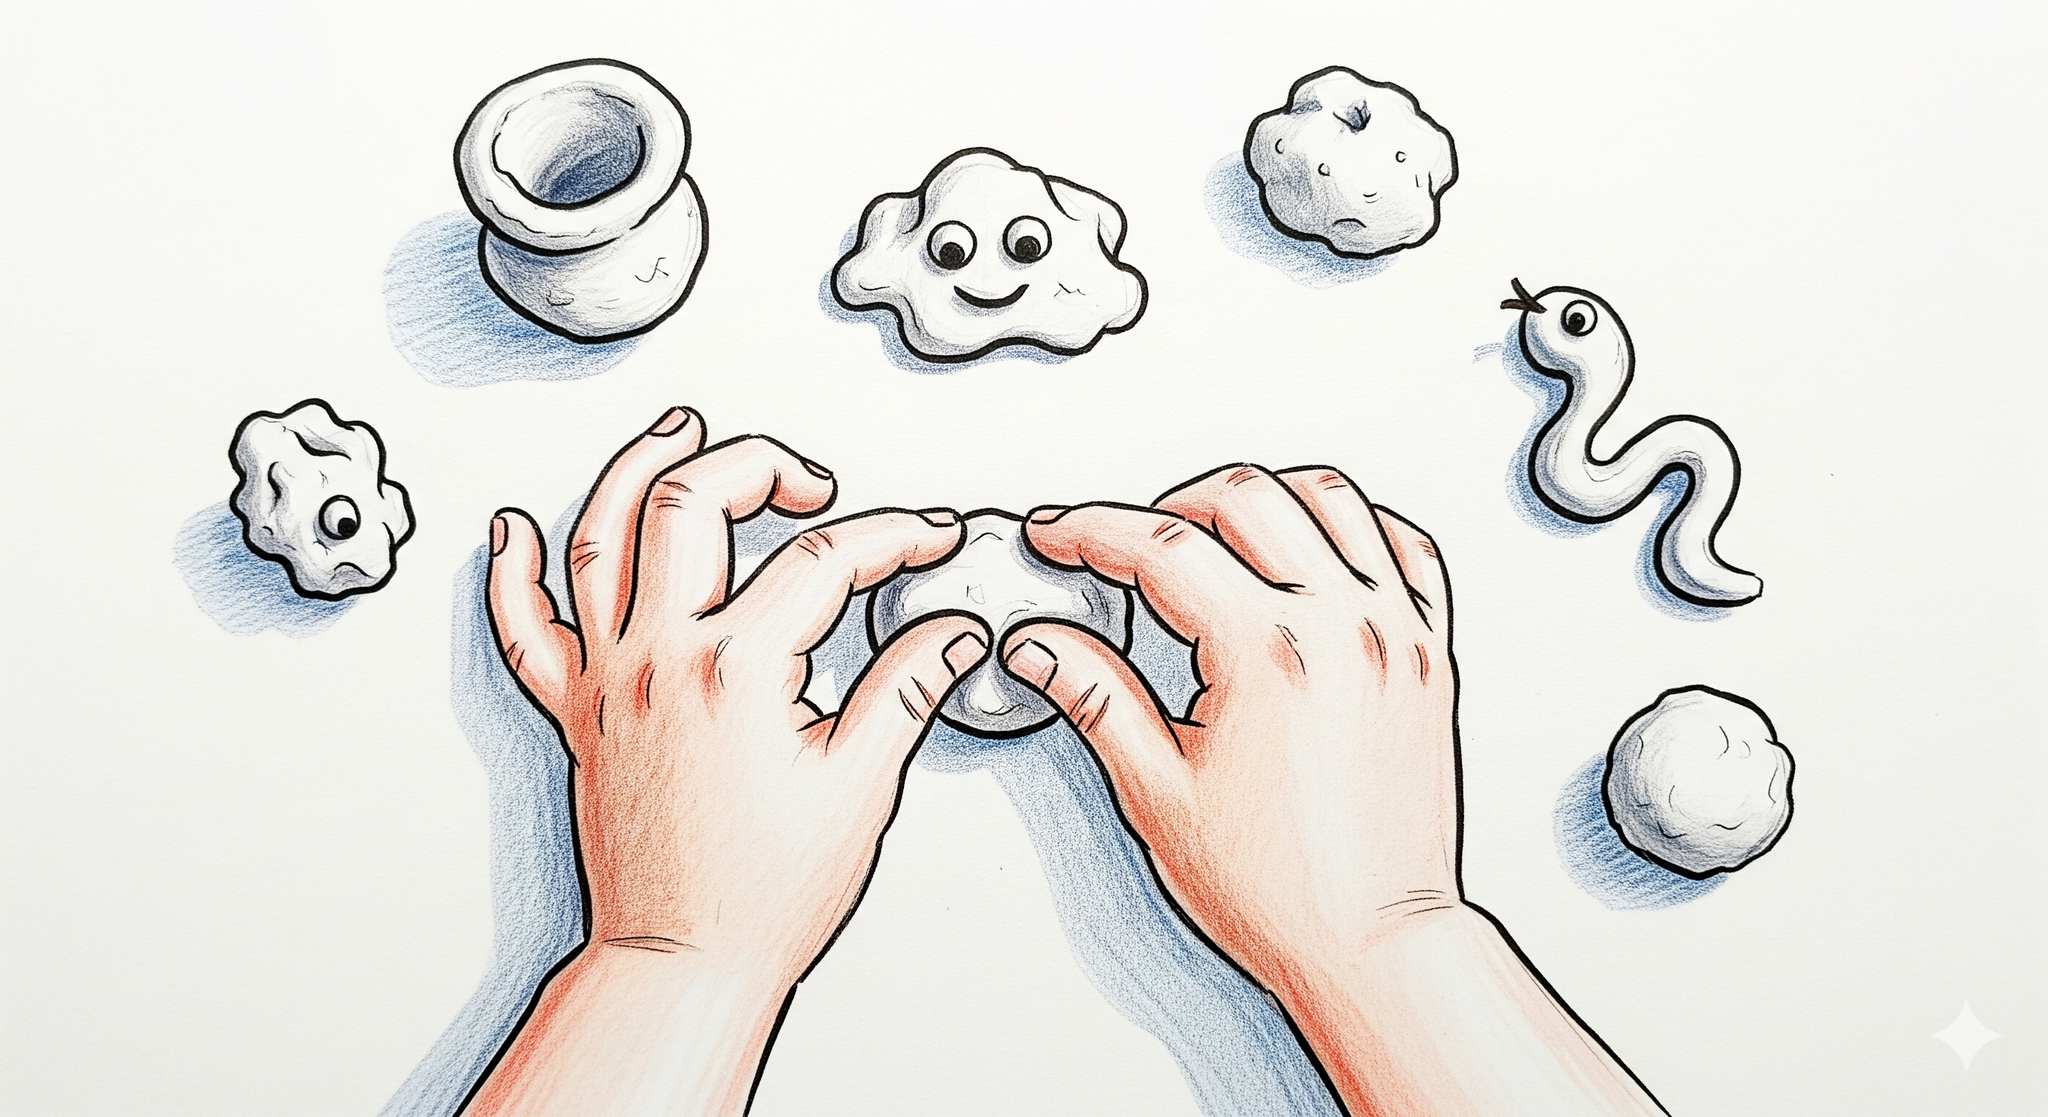
There’s something magical about clay in little hands. Whether it’s pinching, rolling, or squishing, clay gives kids a full-sensory art experience that’s both engaging and educational. For homeschool parents, sculpting with clay can feel intimidating, messy, and expensive, and may even be outside your comfort zone.
However, the truth is that air-dry clay makes sculpture accessible, fun, and totally manageable at home. Clay play doesn’t require fancy tools or a kiln. It invites children to explore form, build with their hands, and express their ideas in 3D.
In this post, you’ll find five simple, low-mess clay projects that are perfect for homeschool learners. Each one builds confidence, strengthens fine motor skills, and supports creative thinking, all while keeping your kitchen (mostly) clean.
Let’s dive into the benefits and get started!
What Does Clay Play Look Like for Young Learners?
Sculpting with clay is a fun tactile experience and a powerful learning tool. Clay encourages children to think spatially and develop a sense of dimension. They learn how to manipulate shapes, understand proportions, and problem-solve when pieces fall off or don’t work the way they expected.
For younger students, clay play builds:
-
Fine motor control: Strengthening the small muscles in their hands and fingers.
-
Creativity and self-expression: Kids can create whatever they imagine, with no “right” answer.
-
Patience and resilience: Sculpting takes time and often involves trial and error.
-
Focus and calm: The hands-on nature of clay can be grounding and soothing.
Best of all, air-dry clay is affordable, readily available, and mess-friendly. It doesn’t require baking or firing — just shape, leave out, and let it dry.
Below are five projects to introduce your child to the world of sculpture!
5 Simple Sculpting Projects for Little Hands
1. Clay Creatures
Kids love making creatures — real or imagined. This project combines storytelling, biology, and design as kids sculpt their own animal or monster. It’s a perfect way to combine science and art.
What they’ll learn: Shape recognition, animal anatomy, character design, storytelling.
Materials:
-
Air-dry clay
-
Toothpicks or clay tools
-
Optional: googly eyes, pipe cleaners, paint
Instructions:
-
Ask your child to choose an animal or creature. It could be a pet, a zoo animal, or something made-up.
-
Break down the form: “What shapes make up this creature’s body?” Help them see that a cat could be an oval with a triangle head and cylinder legs.
-
Form each part separately, then attach by gently pressing and smoothing the clay together.
-
Add textures like fur, scales, or feathers using toothpicks or tools.
-
Let dry completely. Optional: Paint your creature once dry.
Prompt for reflection: “What special powers or abilities does your creature have? Why did you design it this way?”
2. Pinch Pots with Personality
Pinch pots are a classic clay project, but adding facial features or decorations turns them into a fun exploration of character and utility. This one’s great for beginners.
What they’ll learn: Hand strength, symmetry, basic pottery techniques, creative embellishment.
Materials:
-
Air-dry clay
-
Tools for shaping and texture (fork, pencil, spoon)
Instructions:
-
Roll a ball of clay about the size of a small orange.
-
Push your thumb into the center to make an opening.
-
Pinch the sides evenly, turning the pot as you go to maintain its symmetry.
-
Once the pot shape is ready, decorate with eyes, ears, silly noses, or textures.
-
Let dry thoroughly and paint if desired.
Prompt for reflection: “Who would use this pot? What would they keep inside?”
3. Nature Impressions
This project combines art with outdoor exploration. It helps children slow down, observe nature, and transfer those details into their artwork.
What they’ll learn: Texture awareness, observation skills, appreciation of natural forms.
Materials:
-
Air-dry clay
-
Leaves, twigs, rocks, flowers (anything from nature!)
-
Rolling pin or smooth cup
Instructions:
-
Head outside to collect small natural objects with interesting textures.
-
Roll out a slab of clay about ½ inch thick.
-
Press your collected items into the clay and gently remove them.
-
Optional: Cut around the impressions to make ornaments or medallions.
-
Let dry and paint if desired.
Prompt for reflection: “Which texture surprised you the most? What did you notice when you pressed it into the clay?”
4. Mini Story Stones
These palm-sized sculptures encourage kids to think narratively. Each one becomes a character or prop in a homemade story.
What they’ll learn: Storytelling, sequencing, and fine detail sculpting.
Materials:
-
Air-dry clay
-
Toothpicks or detail tools
-
Markers or paint
Instructions:
-
Roll small balls of clay (about the size of a ping pong ball).
-
Have your child sculpt a tiny object or character on top: a house, a cat, a spaceship.
-
Make 3–5 stones with different elements.
-
Once dry, add details with paint or a drawing.
Prompt for reflection: “Can you tell me a story using all of your stones? What happens first, next, and last?”
5. Name Plaques or Initials
Let kids personalize their space with clay name plaques or initials. It adds ownership and gives them a meaningful connection to their work.
What they’ll learn: Letter recognition, spatial planning, surface decoration.
Materials:
-
Air-dry clay
-
Tools for shaping letters
-
String or magnets (optional)
Instructions:
-
Roll a flat slab of clay about ½ inch thick.
-
Either write the full name using sculpted letters or press in initials.
-
Decorate with patterns, borders, or textures to add visual interest.
-
Optional: Add holes to hang or embed magnets on the back.
-
Let dry, then paint.
Prompt for reflection: “What colors or symbols represent you best? How do you want your name plaque to make people feel?”
The Bottom Line
Clay is a fantastic tool for building creative confidence in homeschoolers. These five projects offer a balance of structure and freedom, teaching important art concepts like form, texture, and story while leaving space for imagination. You don’t need a studio or even a lot of supplies — just some air-dry clay and a willingness to explore.
Outside the Box Creation’s monthly art curriculum kits make clay projects even easier. With step-by-step guidance, included materials, and exciting themes, you can teach sculpting without overwhelm. Our lessons are designed to support young artists and give homeschool parents the tools to feel confident and capable.
Let your child’s creativity take shape — one pinch, press, and sculpt at a time.